20 Practical Hiking Outfits and Gear for Any Weather
What should I wear hiking in different weather conditions? It’s the question that trips up even experienced trail enthusiasts, but the answer is simpler than you think—strategic layering that adapts to any climate.
This guide breaks down 20 complete hiking outfit combinations that work from scorching summer heat to freezing winter conditions. You’ll discover which base layers actually wick moisture, which mid-layers provide warmth without adding bulk, and how the right accessories can transform a basic setup into weather-proof protection that keeps you comfortable mile after mile.
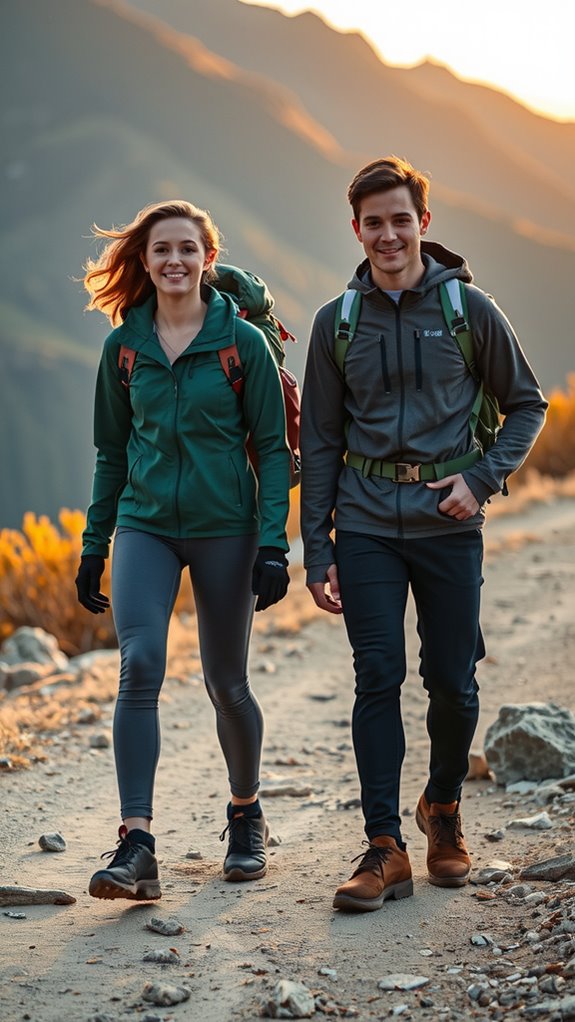
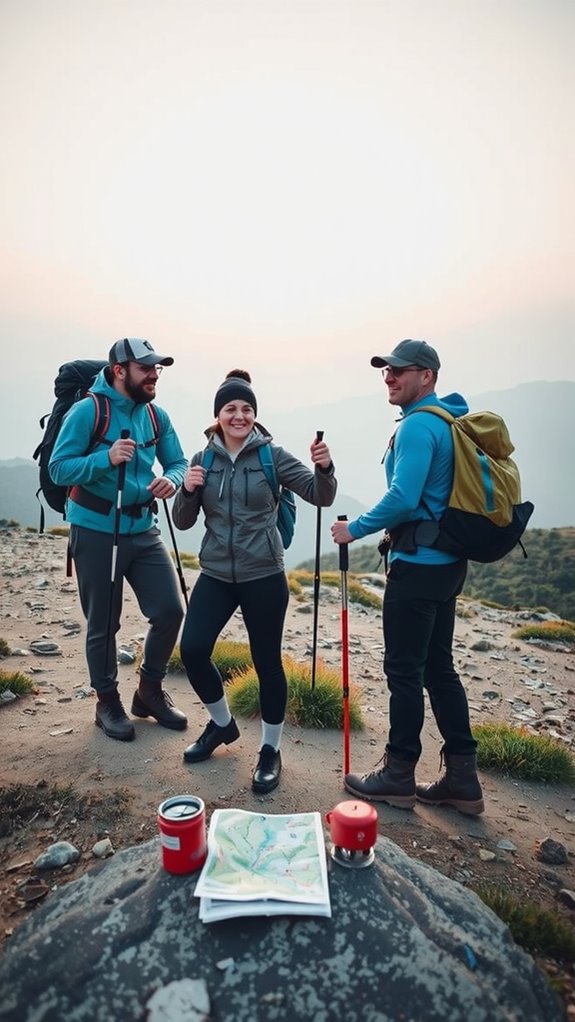
Spring Day Hike in Mild Conditions

When you’re gearing up for a spring day hike, you’ll want to layer strategically without overdoing it—mild temperatures demand finesse rather than bulk.
Start with a lightweight merino wool base layer that wicks moisture effortlessly as you warm up on the trail.
Layer a breathable fleece mid-layer for insulation during cooler moments, then top it with a water-resistant shell jacket you can easily remove.
This trio keeps you comfortable through temperature fluctuations.
Add moisture-wicking hiking socks and consider a packable beanie for shaded sections.
The key? Choose pieces you can shed and tie around your waist as exertion heats you up.
Summer Trail Adventure With UV Protection
As temperatures soar and you’re ready to embrace longer daylight hours on the trail, your layering strategy shifts dramatically—you’ll trade insulation for breathability and add serious sun defense to your hiking wardrobe.
Summer hiking demands lightweight, moisture-wicking base layers that keep you cool without bulk. Consider these essentials:
- Sleeveless or short-sleeve synthetic tops for maximum ventilation
- Wide-brimmed hats with UPF protection blocking harmful rays
- Lightweight, packable rain shells for unexpected afternoon showers
- High-SPF sunscreen reapplied every two hours during exposure
- Breathable, quick-dry shorts with built-in sun protection
I’ve found that investing in UPF-rated fabrics transforms summer adventures, letting you hike confidently while staying protected and comfortable.
Fall Foliage Hike With Temperature Fluctuations

Fall’s unpredictable weather—those crisp mornings that warm into mild afternoons before cooling again at dusk—demands a strategic layering approach that lets you adapt without overpacking, and that’s where smart mid-layer choices become your secret weapon.
I’ll start with a moisture-wicking base layer, then add a lightweight fleece or merino wool sweater that I can easily remove during peak warmth. My waterproof, breathable shell jacket stays accessible in my pack for sudden temperature drops. I’m finishing with convertible hiking pants and a beanie I can stash away. This flexibility keeps me comfortable—and stylishly prepared—throughout the entire day’s adventure.
Winter Summit Attempt in Extreme Cold
Summiting in subzero conditions demands a completely different layering philosophy than fall’s gentle fluctuations—you’re now building an insulation fortress rather than a flexible system.
I’m strategically stacking thermal base layers, heavyweight mid-layers, and a waterproof shell to trap every ounce of warmth. Here’s my summit strategy:
- Merino wool thermals wicking moisture away from skin
- Down puffy jacket providing maximum warmth-to-weight ratio
- Waterproof/breathable outer shell blocking wind and snow
- Insulated mittens and wool beanies protecting extremities
- Gaiters sealing gaps around boots and ankles
This isn’t fashion—it’s survival engineering that keeps you moving safely upward.
Rainy Day Hiking Essentials
Rain’s relentless nature demands you swap your layering flexibility for a waterproof-first strategy that keeps moisture out while letting sweat escape—because nothing ruins a trek faster than getting soaked from the inside out.
I’ve learned that breathable shells aren’t luxury—they’re necessity. Pair a high-performance waterproof jacket with water-resistant softshell pants, then add lightweight rain gaiters protecting your ankles. Merino wool base layers underneath won’t fail you even when damp. Don’t forget a packable rain hat with a brim; it’s game-changing.
| Layer | Material | Why It Works |
|---|---|---|
| Outer | Waterproof/breathable shell | Sheds rain, vents sweat |
| Mid | Synthetic insulation | Retains warmth when wet |
| Base | Merino wool | Manages moisture naturally |
| Accessories | Rain gaiters + hat | Protects extremities |
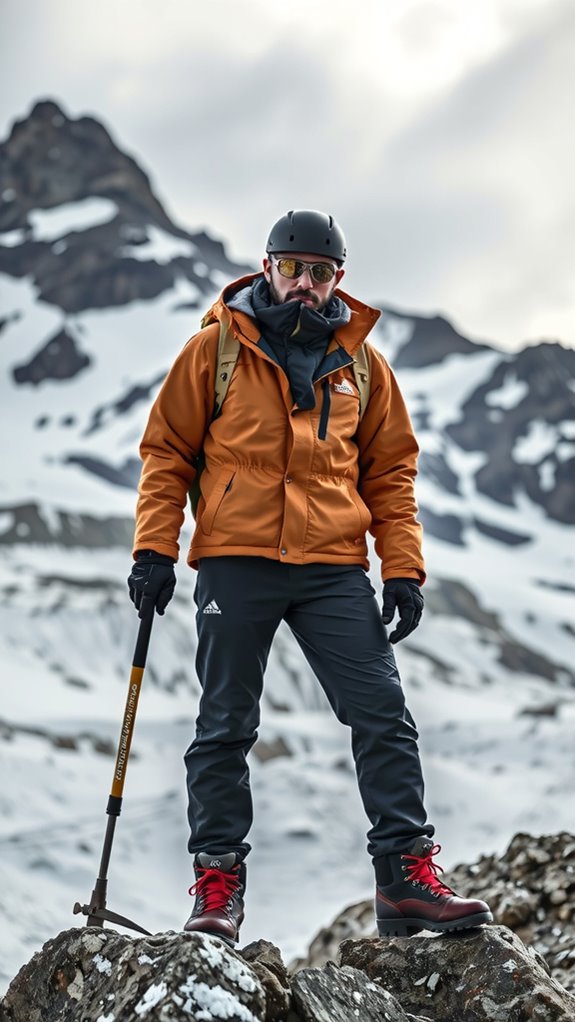
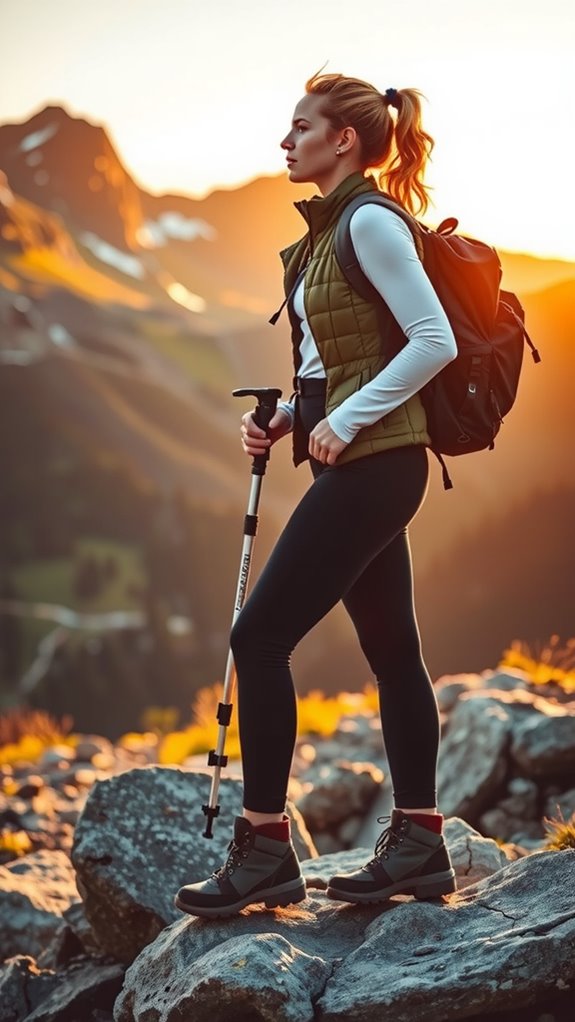
Snowy Terrain and Alpine Weather

When you’re tackling snowy peaks and alpine conditions, your layering strategy shifts dramatically—you’re no longer just managing moisture; you’re fighting hypothermia with every fiber choice you make.
I’ve learned that alpine terrain demands intentional gear selection:
- Thermal-weight merino wool base layers trap warmth while wicking sweat away
- Insulated mid-layers with down or synthetic fill provide critical heat retention during rest stops
- Waterproof-breathable outer shells prevent snow penetration without causing overheating
- Insulated, waterproof gloves and mittens protect extremities from frostbite risk
- Gaiters and thick hiking socks seal out snow around boots and ankles
Your alpine success hinges on these coordinated choices.
High-Altitude Mountain Expedition Setup
As altitude climbs toward 8,000 meters and oxygen thins, your gear strategy must evolve beyond alpine basics—you’re now dressing for extreme physiological stress, where every layer choice directly impacts your body’s ability to generate and retain heat under conditions that’d make even seasoned mountaineers pause.
You’ll need expedition-grade down jackets with synthetic reinforcement at high-friction zones. Triple your base layers—merino wool thermals prevent moisture disaster. Insulated, waterproof boots with gaiters shield against frostbite. Mittens over liner gloves offer superior warmth retention. Wind-resistant softshell pants paired with waterproof overalls create redundancy. Balaclava-style headwear covers exposed skin. Every gram counts, so prioritize lightweight, high-performance materials that work overtime in thin air.
Desert Heat and Sun Exposure Outfit
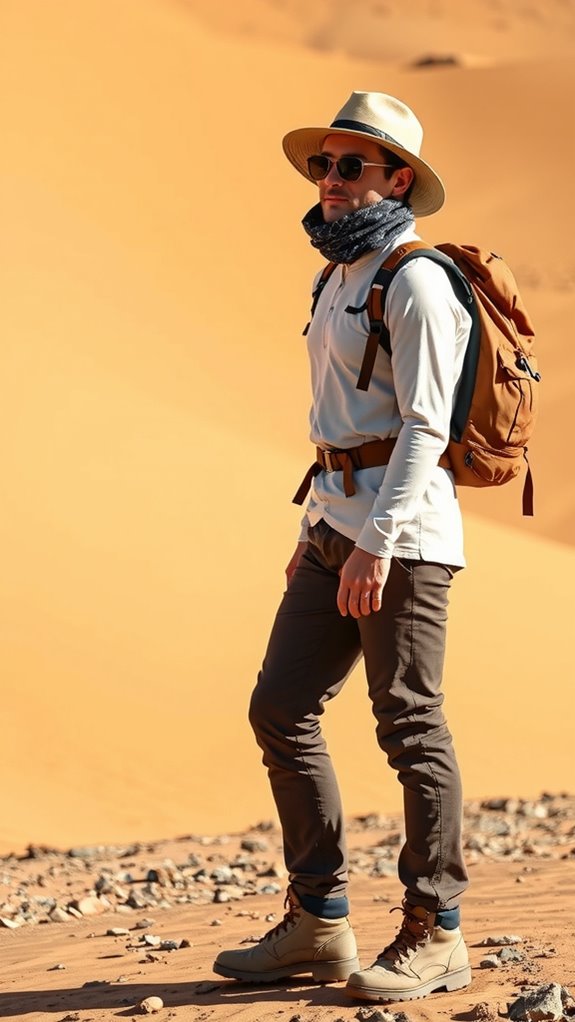
I’ve learned that desert success hinges on strategic minimalism:
- Lightweight, breathable base layers in pale colors reflect sunlight
- Long-sleeve UPF-rated shirts provide sun armor without overheating
- Wide-brimmed hats shield your face and neck effectively
- Moisture-wicking shorts allow maximum airflow and mobility
- Polarized sunglasses protect eyes from intense glare
Your outer layer? Skip it entirely. Instead, focus on UV protection and ventilation.
Loose-fitting, light-colored fabrics become your best allies, creating microclimates that keep you cool while shielding vulnerable skin from brutal sun exposure.
Coastal Wind and Moisture-Rich Environment
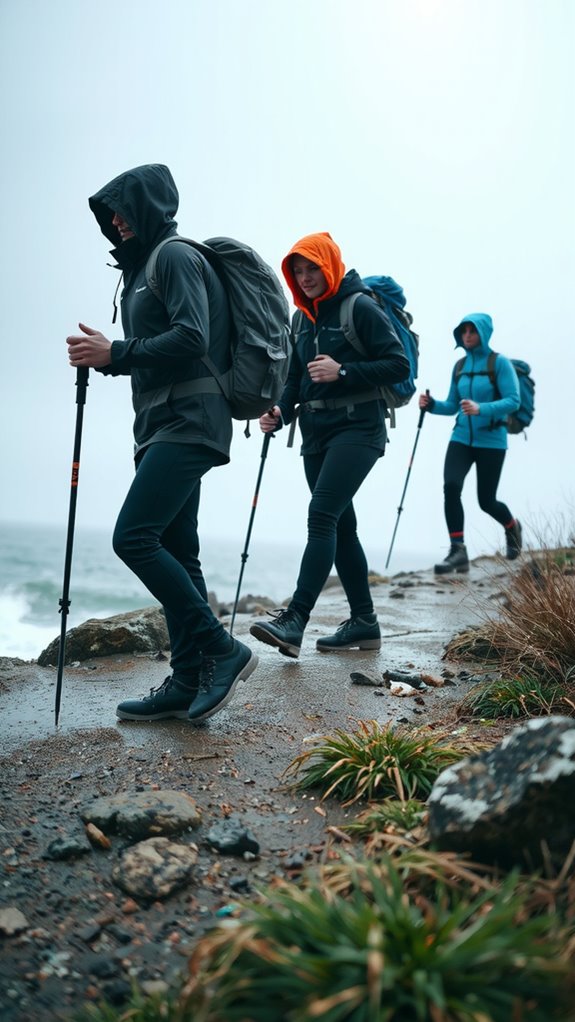
Salty air and relentless wind demand a strategic shift from desert minimalism—you’ll need layering that actually works overtime.
Start with a merino wool base layer that resists moisture and odor better than synthetics in damp conditions.
Add a breathable mid-layer fleece for insulation without bulk.
Your outer shell should be waterproof yet breathable—salt spray and mist require genuine protection, not just water resistance.
Include windproof gloves and a packable rain jacket.
Don’t forget gaiters to shield your ankles from spray and sand.
This combination keeps you dry, comfortable, and styled for coastal adventures.
Forest Trail in Humid Conditions
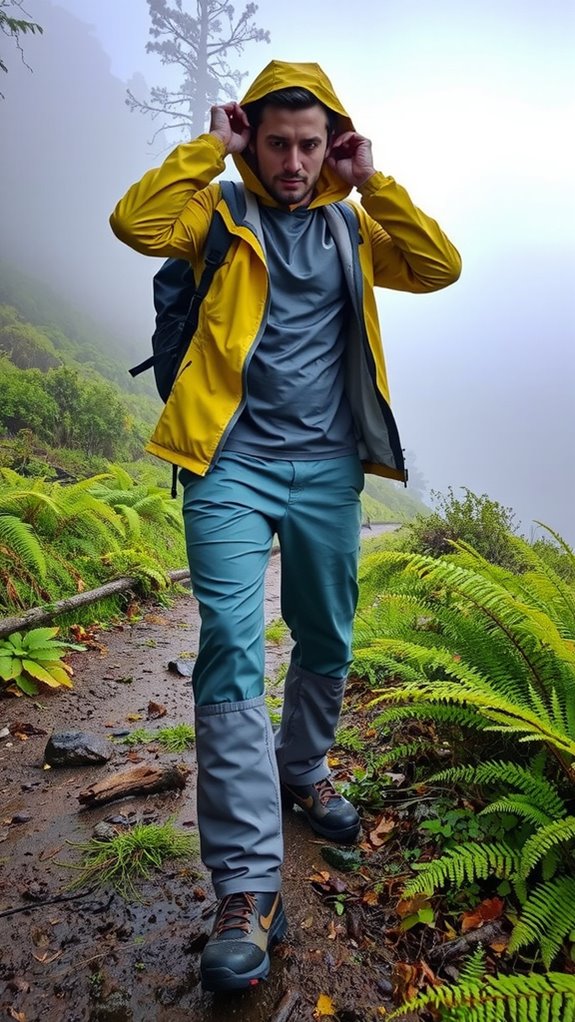
Forest hiking in humid conditions demands a completely different outfit strategy than coastal winds—you’re battling moisture-laden air that clings to your skin and traps heat, not salt spray and gusts. I’ve learned that breathability trumps everything here.
Here’s your humid-forest formula:
- Lightweight merino wool base layer – it regulates temperature naturally and resists odor
- Breathable mid-layer fleece – synthetic options dry faster than down in damp air
- Water-resistant softshell jacket – not fully waterproof; allows sweat escape
- Quick-dry hiking pants – avoid cotton entirely
- Moisture-wicking socks with cushioning – prevents blisters during extended trekking
You’ll stay comfortable, dry, and stylishly prepared for whatever the forest throws at you.
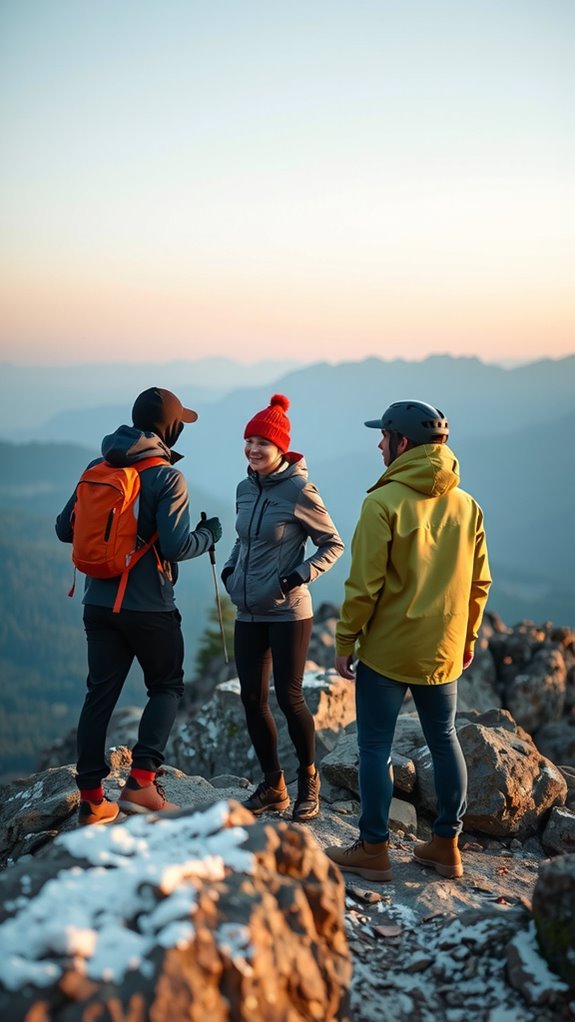
Layering for Unpredictable Weather Changes

When conditions shift from sunny to stormy within hours, you’ll want a layering system that adapts faster than you can say “weather forecast”—because rigid outfits don’t cut it on trails where Mother Nature keeps you guessing.
I’ve learned that versatile mid-layers like fleece jackets work overtime, offering insulation without bulk. Pairing them with packable waterproof shells means you’re ready for anything.
The key? Choose pieces with strategic zippers and ventilation panels. This approach lets you shed or add layers effortlessly, maintaining comfort whether you’re climbing under sunshine or racing downhill through unexpected rain showers.
Base Layer Selection for Different Seasons
Your layering system’s foundation matters more than you’d think—and here’s the truth: the base layer you choose can make or break your comfort on the trail, no matter what season throws at you.
I’ve learned that seasonal selection isn’t one-size-fits-all. Here’s what actually works:
- Spring/Fall: Lightweight merino wool keeps you dry without bulk
- Summer: Ultra-thin synthetics prevent sweat cling and chafing
- Winter: Thermal-weight merino or synthetic blends trap serious warmth
- Wet conditions: Synthetic fabrics outperform wool’s moisture-wicking speed
- All seasons: Skip cotton entirely—it’ll betray you every time
Match your base layer to temperature and activity level for genuinely reliable comfort.
Mid-Layer Combinations for Extended Trips
Since you’re spending multiple days on the trail, layering strategically becomes your secret weapon for staying comfortable without overpacking—and that’s where mid-layer combinations truly shine. I recommend pairing a lightweight fleece with a synthetic puffy for versatile temperature control.
This combo lets you shed layers during exertion, then bundle up during rest stops. For damp conditions, skip down entirely; synthetic insulation retains warmth when wet.
Consider a softshell mid-layer too—it breathes beautifully while resisting wind. The key? Choose pieces that compress easily and work together seamlessly. You’ll stay warm, dry, and genuinely stylish on the trail.
Outer Shell Choices Based on Precipitation Type
The right outer shell transforms how you’ll experience rain, snow, or mist on the trail—and I’m here to help you pick the perfect one for what Mother Nature throws your way.
Here’s what I’ve learned about matching shells to conditions:
- Heavy downpours: Waterproof/breathable shells prevent saturation while letting sweat escape
- Light drizzle: Water-resistant jackets offer flexibility without bulk
- Wet snow: Synthetic insulation maintains warmth when damp
- Alpine winds: Softshells provide stretch and mobility
- Variable weather: Packable shells slip into your pack effortlessly
The key? Balance protection with breathability so you stay dry inside and out.
Lower Body Protection for Various Terrains
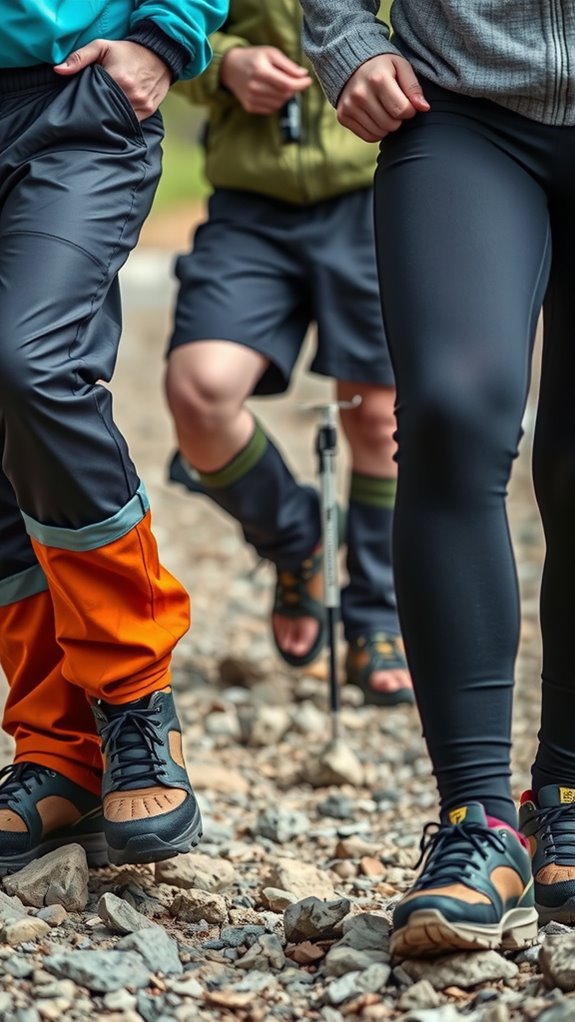
While your upper body’s getting all the protection it needs from a solid shell, I’ve found that most hikers overlook what’s happening below the waist—and that’s where the real game changes depending on terrain.
Moisture-wicking base layer pants keep you dry during steep climbs, while softshell options add wind resistance without bulk. For wet conditions, packable rain pants layer seamlessly over everything.
Rocky terrain? Gaiters shield your ankles and boots from debris.
The key’s matching your lower body to your specific environment—technical trails demand different protection than gentle forest walks. That’s how you stay comfortable and confident mile after mile.
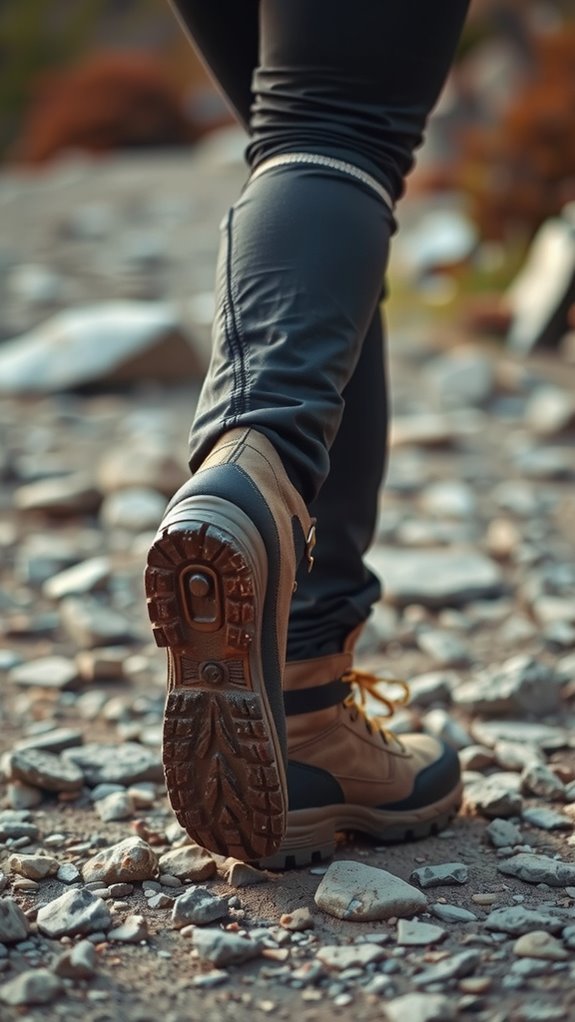
Footwear and Sock Pairing Strategies
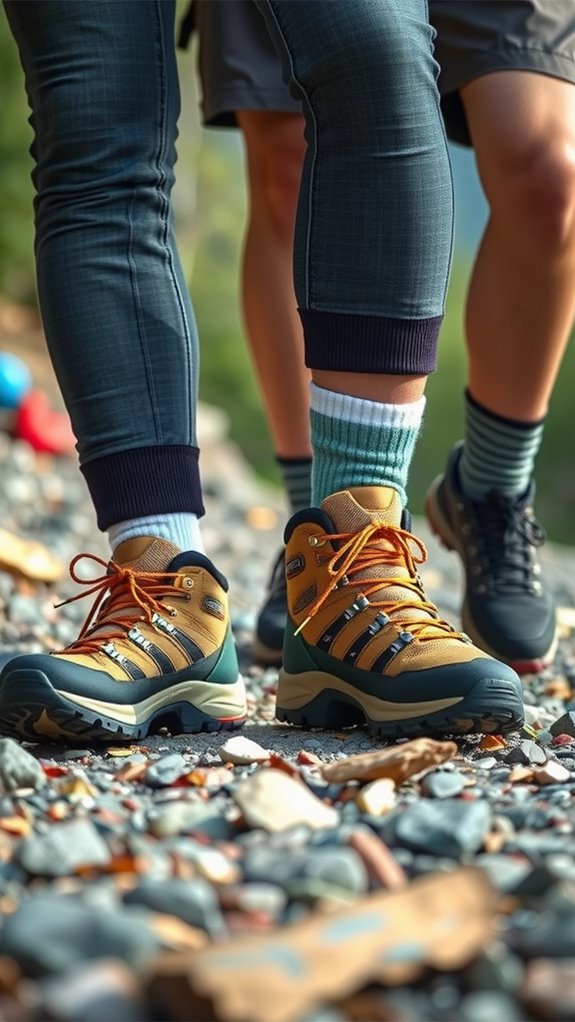
Your feet’ll make or break a hike—and I’m talking about both comfort and performance—so getting the footwear-and-sock combo right isn’t something you can skimp on.
I’ve learned that moisture-wicking socks are non-negotiable. Merino wool or synthetic blends keep your feet dry and blister-free, which frankly changes everything.
What I prioritize:
- Cushioned hiking socks with arch support for all-day comfort
- Lightweight liners under heavier socks for temperature control
- Waterproof, breathable hiking boots that fit snugly without pinching
- Quick-drying materials that prevent that clammy, uncomfortable feeling
- Proper boot break-in before tackling serious trails
Pairing quality socks with supportive footwear isn’t just practical—it’s the secret to actually enjoying your hike.
Hand and Arm Accessories for Cold Weather
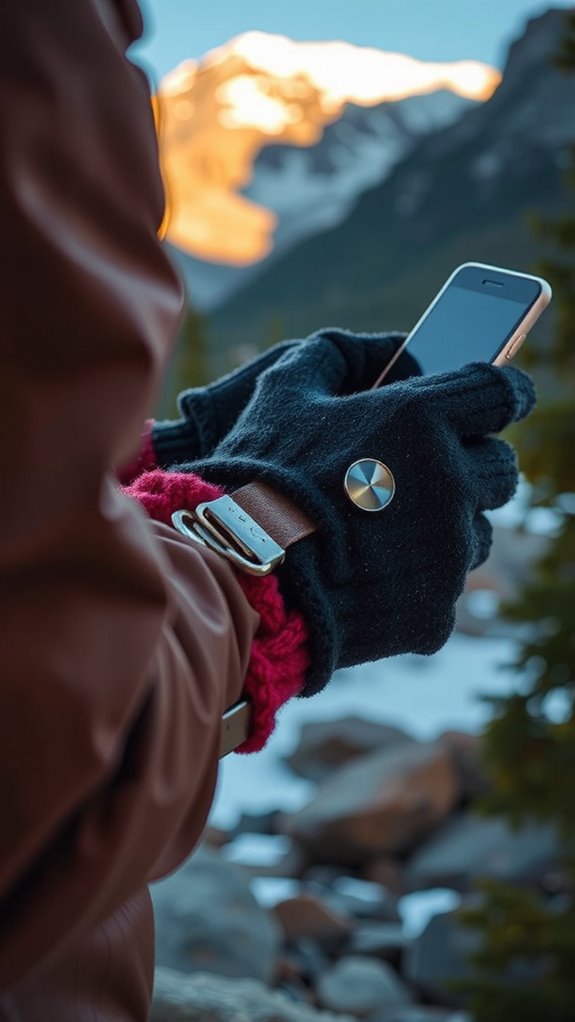
Because exposed hands and arms are where most hikers lose precious heat fastest, I’ve learned that strategic layering from fingertips to shoulders can transform a miserable trek into an enjoyable adventure.
| Accessory | Best For | Key Feature |
|---|---|---|
| Liner Gloves | Mild cold | Dexterity & touchscreen compatibility |
| Insulated Gloves | Severe cold | Warmth retention & grip |
| Mittens | Extreme conditions | Maximum heat preservation |
I’ll start with lightweight liners when temperatures drop—they’re game-changers for maintaining dexterity while hiking. For serious cold, I layer insulated gloves over liners, creating customizable warmth. Mittens work best during rest stops when you’re stationary. Long-sleeve base layers extend protection up your arms, while mid-layer sleeves add insulation without bulk. This approach keeps you comfortable throughout your entire adventure.
Head Protection Across Weather Scenarios
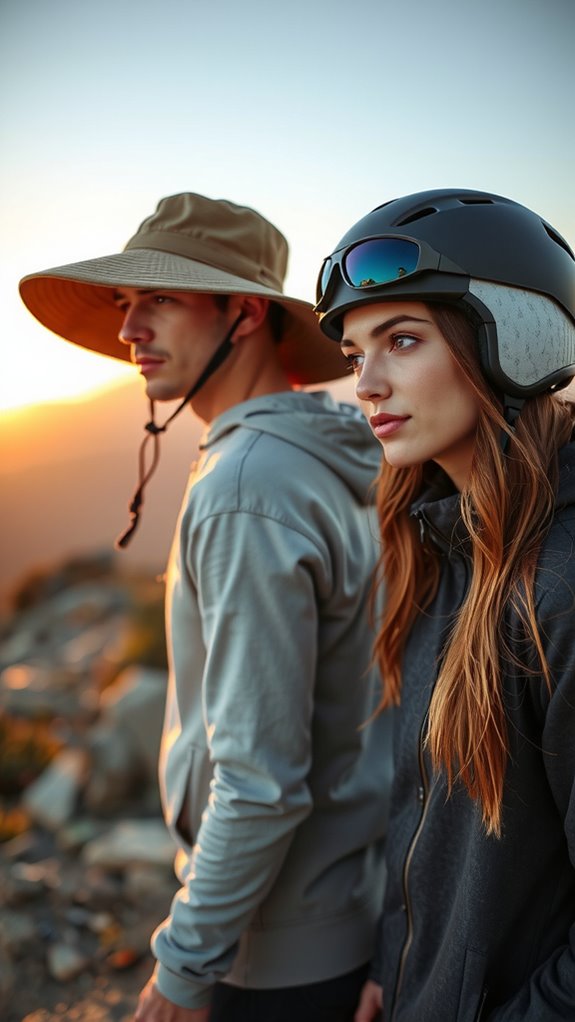
Just as I’ve learned to strategically layer my torso and extremities, I’ve discovered that protecting your head isn’t one-size-fits-all—it’s about matching your headwear to the specific conditions you’re facing on the trail.
Your head deserves intentional protection strategies:
- Beanies: Retain core warmth during frigid descents and summit breaks
- Wide-brimmed hats: Block UV rays and shield eyes from intense alpine glare
- Multifunctional buffs: Transform instantly from neck warmer to face mask to headband
- Lightweight caps: Offer ventilation during steep climbs without overheating
- Windproof hoods: Integrate seamlessly with shells for serious weather protection
I’ve learned that switching headwear mid-hike keeps me comfortable and confident.
Gaiters and Lower Leg Coverage Options
Below your knees lies one of hiking’s most overlooked style and function intersections—and I’ve found that gaiters aren’t just practical; they’re transformative for both comfort and confidence on the trail.
| Gaiter Type | Best For | Key Benefit |
|---|---|---|
| Neoprene | Wet, muddy conditions | Waterproof protection |
| Synthetic blend | All-season hiking | Lightweight, packable |
| Insulated | Winter expeditions | Thermal retention |
These clever accessories shield your lower legs from snow, mud, and debris while keeping moisture out. I’ve noticed that waterproof gaiters prevent that uncomfortable cold seepage around boot tops, transforming uncomfortable hikes into genuinely enjoyable adventures. Pair them with quality hiking boots, and you’re unstoppable.
Complete Gear Checklist for Year-Round Hiking
Now that you’ve mastered the layering fundamentals and protected your lower legs with the right gaiters, it’s time to pull together a comprehensive gear strategy that’ll keep you trail-ready no matter the season.
I’ve learned that smart hiking isn’t about overpacking—it’s about strategic essentials:
- Moisture-wicking base layers in merino wool or synthetics
- Versatile mid-layers like fleece or puffy jackets
- Waterproof outer shell that breathes
- Weather-appropriate accessories: gloves, beanies, multifunctional buffs
- Supportive hiking socks with cushioning
This curated approach means you’re prepared, comfortable, and effortlessly stylish on every trail, regardless of conditions.
Frequently Asked Questions
How Do I Prevent Overheating When Layering During High-Intensity Hiking Uphill?
I prevent overheating by wearing breathable layers I can easily remove as I exert myself uphill. I’ll shed my outer shell or mid-layer when I’m generating heat, then re-layer during rest stops. This way, I’m managing sweat and maintaining comfort throughout my hike.
What’s the Best Way to Pack and Organize Layers in a Hiking Backpack?
I’d pack my base layer at the bottom, mid-layer in the middle section, and my outer shell on top for quick access. I keep accessories like gloves and hats in easy-reach pockets so I can adjust layers without unpacking everything.
How Often Should I Replace or Upgrade My Hiking Layers and Gear?
I’d replace your base layers every 1-2 years with regular use, mid-layers every 2-3 years, and outer shells every 3-5 years depending on wear. You’ll know when it’s time—when moisture-wicking fails, insulation compresses, or DWR treatments wear off.
Can I Use Regular Athletic Clothing Instead of Specialized Hiking Apparel?
I’d advise against it. Regular athletic clothing often uses cotton, which retains moisture and causes chilling. I recommend investing in specialized hiking layers—merino wool or synthetics wick moisture effectively, keeping you comfortable and safe on the trail.
How Do I Care for and Maintain Merino Wool and Synthetic Hiking Layers?
I’d recommend washing merino wool and synthetics in cold water with mild detergent, then air-drying them flat. Avoid fabric softener and high heat, which damage fibers. Merino’s naturally antimicrobial, so you’ll wash it less frequently than synthetics.
In Conclusion
You’ve got everything you need to hike confidently year-round. By mastering layering with moisture-wicking bases, breathable mids, and waterproof shells—plus investing in quality boots and strategic accessories—you’re prepared for whatever Mother Nature throws your way. When it comes to practical hiking outfits and gear for any weather, the secret is building a versatile foundation you can mix and match. You’ll look sharp, feel comfortable, and stay protected.
That’s the hiking outfit formula that actually works. Now it’s your turn to put these ideas into action. Which outfit combination are you most excited to try on your next trail adventure? Drop a comment below and share your go-to hiking gear, or let us know if you have questions about assembling the perfect all-weather hiking wardrobe. Happy trails!